Monday, July 29, 2019

Why I Use SOLE

In my last post, I described using the SOLE strategy in my classroom. I focused mostly on the mechanics of SOLE, the three steps to the method with a few tips along the way. My post was getting long, so I decided I would save the WHY for another day.

SOLE can be used a lot of different ways, but I use it to kick off each of my eight units in chemistry. On Day 1 of the unit, my students consider a Big Question that previews the new unit content but also bridges to the previous unit. For example, I start my unit of chemical bonding with "How can knowledge of the periodic table help us explain and predict the type of compounds elements will make?" We have just finished the unit on the periodic table, so this is an attempt for students to pull information they have just learned and use it to lay a foundation for the next unit. There are many ways to use SOLE, but many of my whys are based on the way I use it.

Things I love about SOLE in my Classroom

  • The process previews the new content. I could use a pretest or entrance ticket or something to get a sense of what my students already know and understand about a topic, but this is more fun. For me and for them. In their two minute presentations, students give a concise description of what they know. Of course, I also eavesdrop as they work in groups. Hearing chemistry in kid words is helpful. I can use their language when I build on their ideas in our unit.
  • Misconceptions are uncovered. Sometimes what they present is flawed or just outright wrong. Hearing on Day 1 that they have a misconception gives me a chance to address it when it's appropriate in the unit. I typically don't do that during or right after a presentation because my focus on Day 1 is listening.
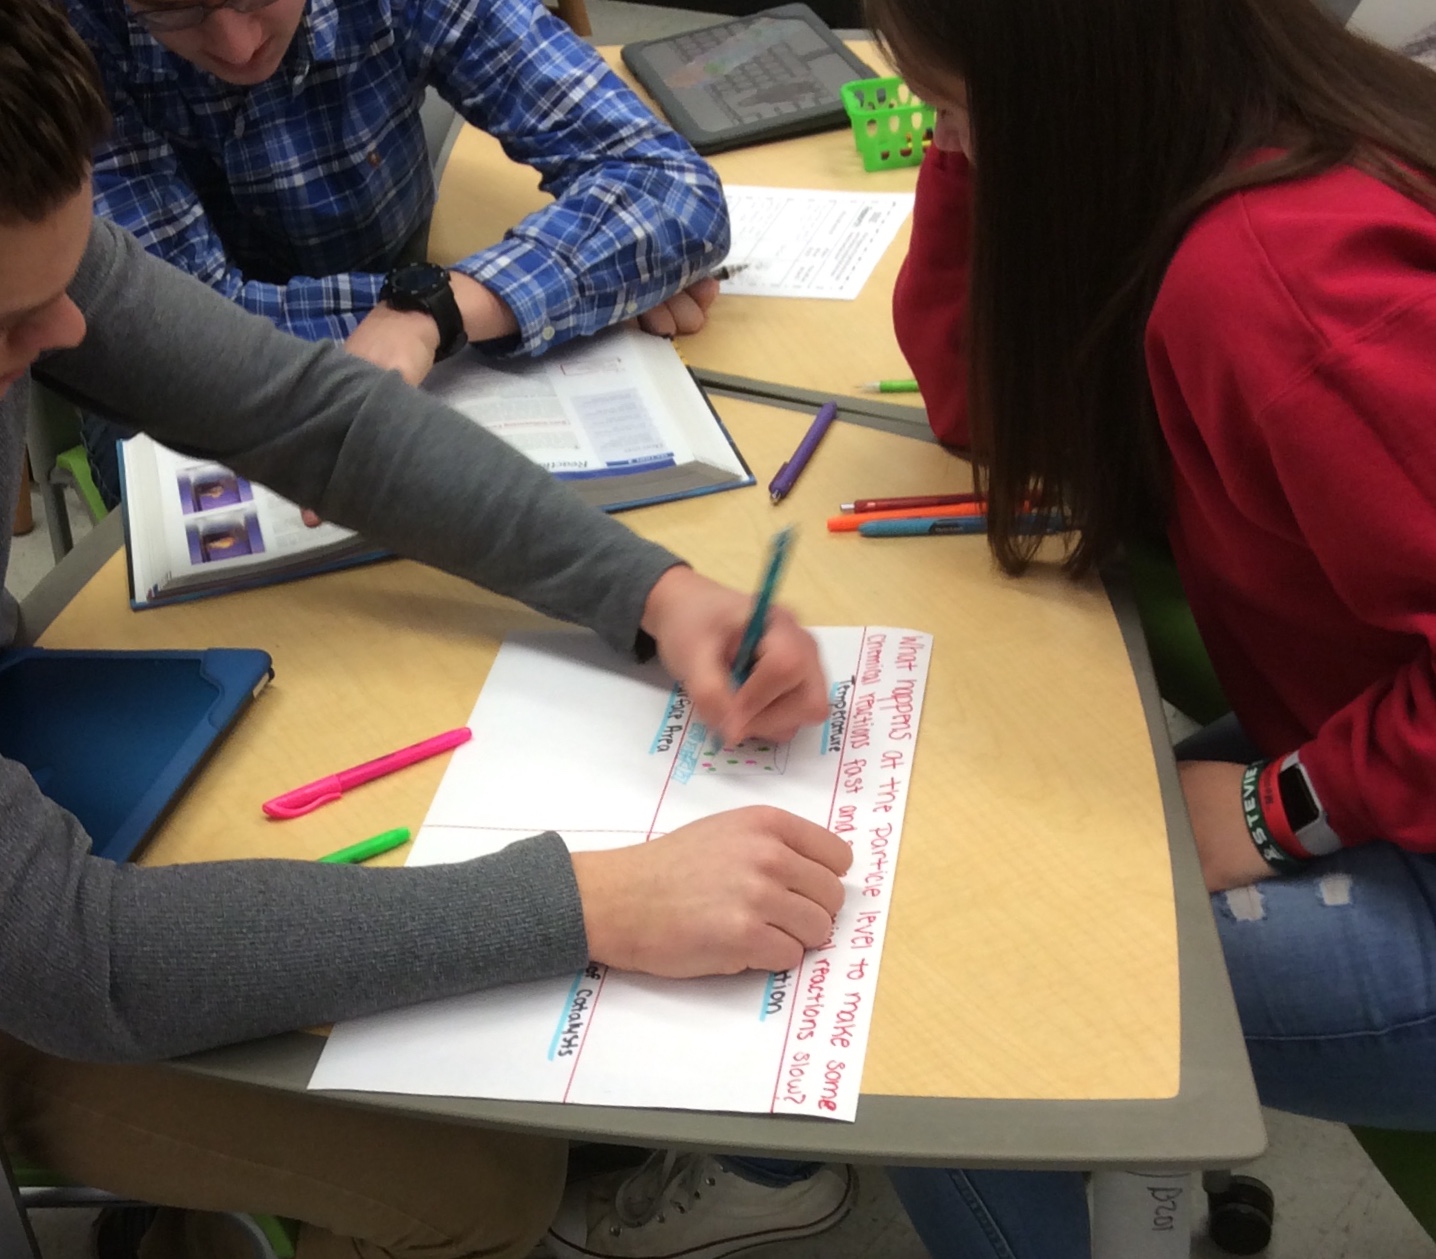
  • They make great visuals! My students make posters during our SOLEs; I choose the ones I like the best and hang them in my classroom so I can refer to them as we work through the unit. This raises the student expectations because they do like when their visuals are chosen. Plus, the visuals remain up during the test as references, so students get better at creating visuals that will be helpful.

Other things to love about SOLE

  • Students become better at collaborating. Because they have a set amount of time to create something and present it, they are less likely to goof off. They divide the work, they plan what to say, they focus on what is most important.
  • They all improve over time. The first and second SOLE of the year are not typically great, but over time, they get better and better. I ask for responses to three statements on my exit tickets to process the groups: My group worked effectively to answer the question, my group created a product I am proud of, and I understand more about the topic. In the first couple SOLEs there are a lot of Nos and Sort Ofs, but after a few more, there are mostly Yeses. 
  • Students gain experience speaking in front of their classmates. It's not a huge amount of time, but it's still an opportunity to work on presentation skills. 
  • Students do all the work and all the talking on SOLE days, so it's a chance to feel like the expert and also realize that you can figure out the answers to big questions with some friends and some resources.
  • The open-ended Big Questions get a cool variety of responses. Sometimes groups will mention similar ideas, but often different groups present very different answers. I like that students get to hear multiple perspectives on a topic.
What are the things you love about SOLE? Please feel free to comment!

Thursday, July 18, 2019

Lessons Full of SOLE

Next week I am attending ChemEd2019 and presenting a session about using SOLE in my classroom. As I was gathering resources to share, I realized that I have never blogged about this terrific teaching strategy, so here goes.

SOLE is an acronym that stands for Self-Organized Learning Environments. Using SOLE in a classroom consists of three parts:
  1. Pose a BIG question.
  2. Investigate an answer while working in groups.
  3. Present findings to the whole group.
Many excellent strategies, like Problem-Based Learning (PBL), require a lot of time. SOLE offers some of the same benefits without as much of a time commitment because the whole thing happens in under an hour.

For the last couple years, I have been using SOLE to kick off each of my units in Chemistry. Here's what that looks like in my classroom:

On Day 1 of each unit, I pose the Big Question. The big question previews new content and asks students to connect what they will learn with what they have just learned. Some sample big questions:
  • Why do all models have benefits and limitations to their use and predictive power?
  • How can knowledge of the periodic table help us explain how and why compounds form?
  • What happens at the particle level to make some reactions slow and some reactions fast? 

We operate with some simple ground rules: You must work with a group. You can use one electronic device. You have to be ready to present in 30 minutes and everyone must contribute.

I give each group a research sheet where they can record answers as they investigate. They can also use this to brainstorm ideas for how they will visually represent their ideas and record citations for where they found their information. Then I give them about 30 minutes to explore and create their visual.

When we have about 15 minutes left, each group has two minutes to share their visual representation of the answer to the question and explain why they drew what they did. That leaves just a few minutes left for my exit ticket where each student answers the Big Question based on all they have learned. They also answer four group processing questions (did your group work effectively? Did your group produce something you're proud of? Do you understand more about the topic? What will you do differently next time?).

I choose the best visuals from each class and hang them up on the walls. Then we can refer to them throughout the unit as we talk about topics that were mentioned during the SOLE. It's a great way for me to hear what they already understand (or don't!) about a topic so I can plan accordingly. It also helps students understand our progression of topics and how chemistry builds on what we have just learned. I also try to write a short answer question for each test that incorporates the Big Question from the SOLE. This is a great opportunity to see growth in understanding between the first and last day of the unit.


Of course, this is only one of the many ways you could use a SOLE in a classroom. It would be a great culminating activity at the end of a unit. Or a progress check somewhere in the middle before moving on to a new concept.

Many resources are available to help get you started with SOLE. Create a free account at the SOLE website in order to search ready-made questions, use teacher resources (graphic organizers, rubrics, posters, and more), watch videos, and plan your SOLE). There is also a FREE iOS and Android app that will walk you through the process and help you monitor your SOLE while you implement. With a few clicks, the app creates a lesson plan that will make your literacy-focused administrator giddy.

I'm looking forward to sharing this next week. If you're looking for an easy way to let kids explore a topic and present ideas without dedicating too much time to the process, SOLE may be just the thing for you. I hope you'll give it a try!

Sunday, July 7, 2019

A Crash Course in Newton's Laws

Image by Marcel Langthim on Pixabay
When I started teaching, my assignment was 4 sections of physical science; one of my favorite lessons was the science of seat belts. We used Newton's First Law as a starting point for trying to convince kids to wear seat belts by presenting data and information about car crashes. The highlight for me was helping kids discover in the lab how fast a car could be going when it crashes and they could stop themselves from hitting the dashboard without wearing a seat belt. For most students, this speed is around 5 mph. Several years ago I had the opportunity to teach physical science again. When I reached for my favorite car crash materials, they looked so out-of-date that I hesitated to use some of them.

This week I saw a resource that could help teach this topic. The Insurance Institute for Highway Safety offers free "videos, demonstrations and teacher-developed, classroom-tested activities aligned to the latest standards bring crash safety STEM applications to grade 5-12 classrooms." The eleven lessons range in time from 35 minutes to two weeks and include everything from simple experiments to detailed projects. The experiments look engaging and informative.

In addition to the lessons, there are two award-winning films on Understanding Car Crashes and some additional videos on things like teen driving concerns and how cars can avoid a crash. All of the lessons are aligned to the Next Generation Science Standards and the 5E Instructional Model. I love the idea of teaching this material to kids in their freshmen year of high school because they will probably get a driver's license in the year or so following physical science, so it is a timely bit of convincing for using good driving skills. Take a look at these free resources and see what you think. You can provide feedback to the IIHS here.

Tuesday, July 2, 2019

It's Time to Climb!

 
Last week at ISTE Nearpod rolled out a new gamification feature for their interactive presentations. I participated in the spring beta test of this new feature called Time to Climb and I am very excited that it is now available for everyone to use.

Teachers launch the new feature as a standalone game or as part of a presentation. There are (so far) two themes to choose from - a Himalayan or space mountain to climb. You can also choose whether or not to randomize the answers. 

When students join the game, they are prompted to choose a character. 

Teachers see the characters pop up on their screen and if they hover on the character, they see the name associated with it.


When everyone has joined, the teacher hits start and the game begins. 

Kids see a screen with questions to answer.

Teachers can see the questions and then a leaderboard and positions on the virtual mountain. Climbers pass each other as they correctly answer questions.

At the end of the game, one climber wins and joins two runner ups in the winners circle.

If you're anxious to try out this new feature, you can head to the Nearpod Library and try out one of the almost 50 games that already exist. When I demoed this feature for elementary teachers in my district in the spring, they were so excited to try it that they asked me to put many games into our district's Nearpod Library.

Another way you can use the feature is to add it to presentations you create for yourself. When you are in the creation mode, click the + sign to add a new slide. Then click Add Activity. Time to Climb should be the first option on the left. Select it and start writing your questions.

The graphics and cute and the whole game is a simple quiz feature with climbing graphics, but I love that it can take place right inside Nearpod's app. And even though the whole thing has a strong cute vibe, I think high schoolers would get a kid out playing it, if not only in an ironic way.

This new feature is just one more thing to love about Nearpod, released just in time to test it out this summer so we are all ready to launch it in our classrooms this fall.